Journal
Measuring for Fit
Updated
Rigid steel does not forgive a guess. A soft cuff will stretch two centimetres and hide the error; a machined shackle will not. Five minutes with a tape gets it right first time—and if you measure before use, an unused wrong size can still qualify for exchange under the return policy.
What you need
A flexible tailor's tape, or a strip of paper and a ruler. Work in millimetres and write the numbers down. Measure at rest, at room temperature, and ideally at the time of day you expect to wear the piece: limbs are measurably larger in the evening, in heat, and after exertion. Measure the person who will wear it — wrists differ between people far more than clothing sizes suggest, and between a person's own left and right.
Where to take each measurement
Wrist. Around the narrowest point, just below the wrist bone on the hand side of the joint — the hollow where a watch settles. Keep the tape level and snug against the skin, not tight enough to compress it. Take both wrists.
Ankle. Around the narrowest point, just above the ankle bone. Same principle: against the skin without denting it. If you intend to wear socks, measure over them.
Neck. Around the base of the neck, where a collar rests above the collarbones and below the larynx — not high on the throat. Keep the tape horizontal all the way round; one that rides up at the back reads short. Head neutral, breathing normally.
Clearance
The measured circumference is not the size you order. Restraints need room, and the room is measured in fingers.
Wrist and ankle: one to two fingers should slide flat between metal and skin, all the way around.
Neck: two fingers, always. Never less, whatever a piece looks like when snug. A collar sits against a structure containing an airway and major blood vessels, and two fingers is the practice for a reason.
If you fall between two sizes, take the larger one. A restraint that is slightly generous still restrains; one that is slightly tight is a circulation problem waiting for the wrong evening.
Our ranges
Internal circumference is what your tape measures; internal diameter is what a machined ring is cut to. Both are given below so you can compare directly against your own number, before adding clearance.
One honesty note before you use them. These are the figures our manufacturing partners specify, converted where a circumference is not stated but a round bore is. They are not yet numbers we have measured ourselves on production samples, and we will say so here until they are. Treat them as close, not as certified — and where a piece is oval rather than round, or where we have not published a diameter at all, we say that too rather than filling the gap with arithmetic.
- Eclipse Slim Collar — inner Ø 120 mm / 140 mm (≈ 377 mm / 440 mm internal circumference), 11.5 mm round bar
- Regent Wide-Band Collar — inner Ø 116 mm (women's) / 136 mm (men's) (≈ 364 mm / 427 mm), 7 mm band
- Sovereign Locking Collar — 20 mm flat band, women's and men's fit. We have not yet published its internal diameter; if you are close to the boundary between the two fits, ask before ordering rather than guessing.
- Cardinal Four-Ring Collar — inner Ø 117 mm (women's) / 136 mm (men's) (≈ 368 mm / 427 mm), 3 cm band
- Bastion Extra-Thick Collar — inner Ø 117 mm (women's) / 137 mm (men's) (≈ 368 mm / 430 mm), 12 mm wall
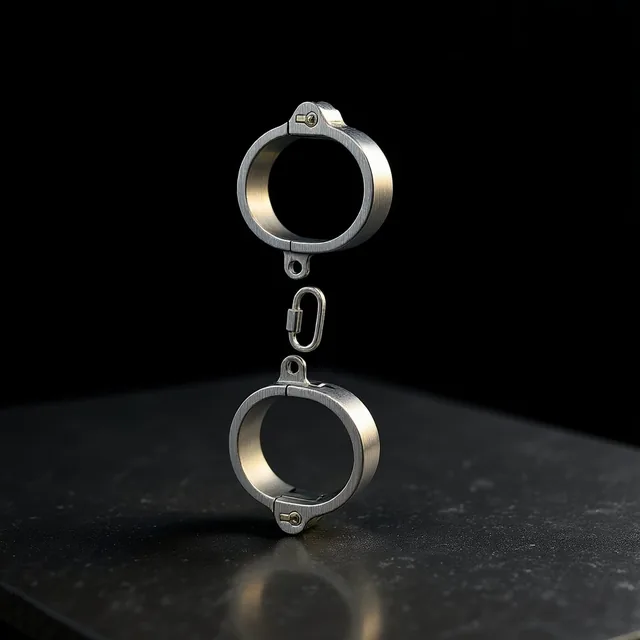
- Oath Wrist Shackles — inner Ø ≈ 55 mm, women's and men's. The bore is oval rather than round, so a tape circumference does not convert to it; compare your wrist measurement against the diameter and ask if you are near the boundary.
- Anvil Irons — inner Ø 71 mm (women's) / 81 mm (men's) (≈ 223 mm / 254 mm), 20 mm wall
- Pillory Yoke — neck aperture inner Ø 135 mm (women's) / 145 mm (men's) (≈ 424 mm / 456 mm). The two wrist apertures are supplied to match the same fit; their diameters are not separately published.
Sized by span, not by anatomy
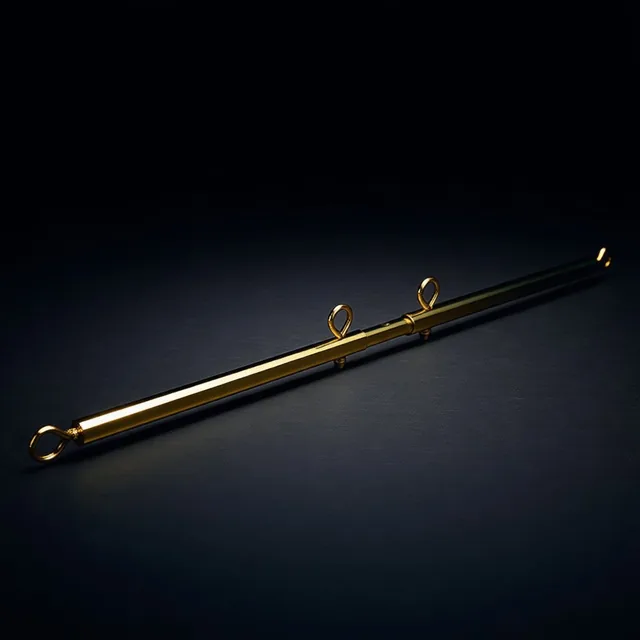
- Vantage Spreader Bar — three sections, seven lock positions from 620 to 930 mm
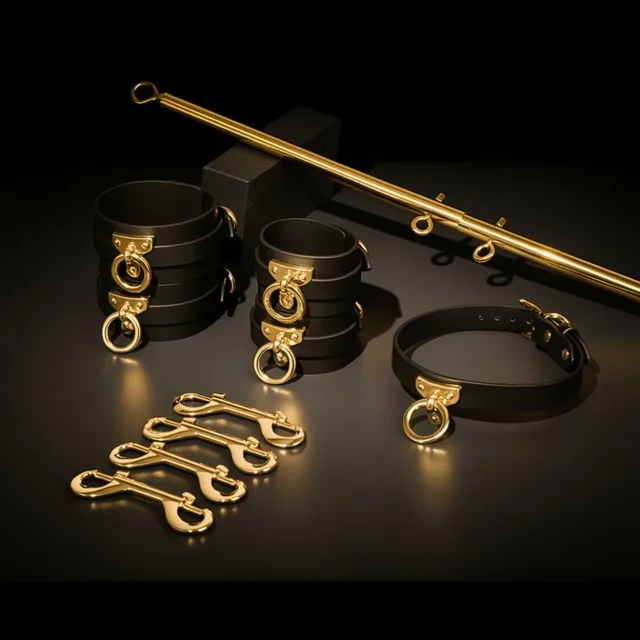
- Meridian Spreader Bar Kit — the same 620–930 mm bar with four leather cuffs and clips
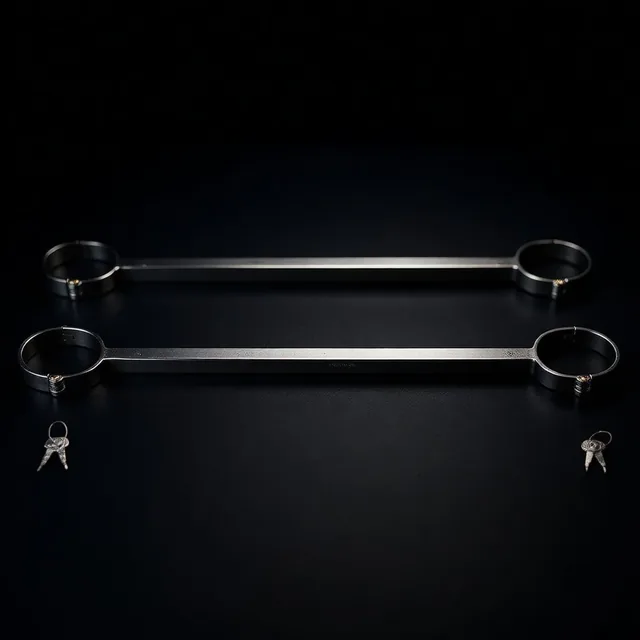
- Oath Ankle Shackles — rigid ankle set, ≈ 580 mm (women's) / 600 mm (men's) across. That figure is the span between the two cuffs, not the ankle aperture, which is not separately published.
A spreader is set by span rather than by a limb measurement. The Vantage starts at 62 cm, which can already exceed a person’s natural shoulder width. The printed range is not a comfort recommendation. Establish a comfortable unaided position first and never use the bar to force a joint farther.
Checking the fit in use
Once a piece is on:
- Slide two fingers under it. If you cannot, it is too small — take it off, do not proceed.
- Monitor continuously. Release immediately for pain, numbness, tingling, coldness, colour change, swelling or breathing discomfort; a fixed interval cannot establish a medically safe duration.
- Stop immediately for numbness, tingling, coldness, or a hand or foot turning pale, dusky, or blue. None of these are worth tolerating for a few more minutes.
- Keep the metal on the narrow part of the joint. Restraints that ride up onto the forearm press on nerves the wrist does not, and nerve compression can outlast the session by weeks.
- Keep keys and blunt-nosed safety shears within arm's reach, and never leave a restrained person alone.
Fit is the part of this equipment that does the safety work. The rest is finish.